This page covers how to enable and customize Resource and Media Type level notifications. For information on how to enable and edit Required Audience notifications, see the Help screen on Required Audience Notifications.
Go to Resources > Maintain Learning Resources in the administrator console, search for the course for which you want to enable resource level notifications, and click Edit.
If the course is inactive, first go to the Overview tab and make it active. Notifications will only be sent out for active courses.
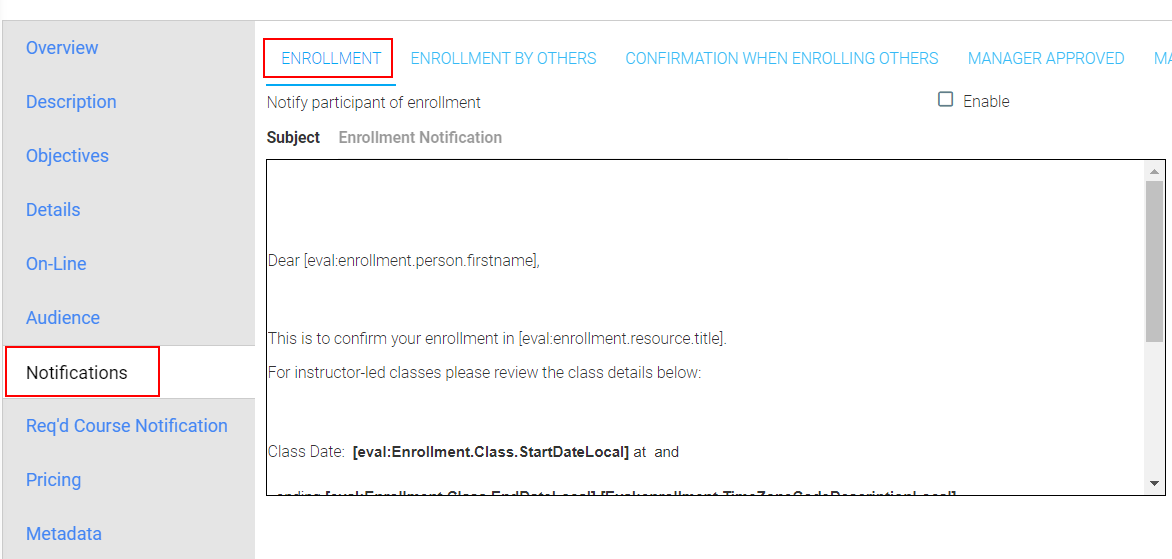
Once the course is active, go to the Notifications tab. When you click on the Notifications tab, all of the notifications that are available in your system will be shown as sub-tabs.
If there are too many notifications to all be shown, there will be arrows on the far right of the sub-tab row.
Click on the right-hand arrow to see additional notifications.

Click on the Notification type that you wish to enable. The text that is shown will be pulled from the media type notification, if enabled, or the system default notification if the media type is not enabled.
For notification types that do not have a system default option, the text box will initially be blank.

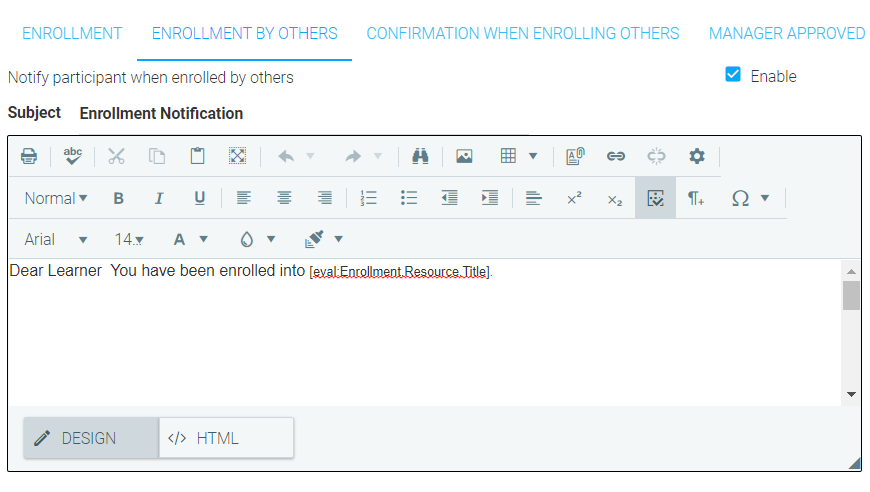
Select the Enable checkbox at the top right. Selecting the enable box will cause the rich text editor to be shown and allow you to customize the notification. As long as the notification remains enabled, whenever a user requires this notification type for this resource, this is the notification that they will receive.
Note: If the resource level notification enable box is unchecked (after being previously enabled), the system will warn you that the custom text will be deleted.
Go to Tools > Maintain Media Types in the administrator console, select the media type for which you want to enable media type level notifications, and click Edit. Go to the Notifications tab in the opened media type.

When you click on the Notifications tab, all of the notifications that are available in your system will be shown as sub-tabs. If there are too many notifications to be initially shown, there will be arrows on the far right of the list. Click on the right-hand arrow to see additional notifications.
Click on the Notification type that you wish to enable. The notification will initially be blank.
Select the Enable checkbox at the top left and enter your desired notification text.
As long as the notification remains enabled, whenever a user requires this notification type for this media type, this is the notification that they will receive, unless there is a notification that has been enabled on the Resource level.
Available Resource and Media Type Notifications
Required Audience Notifications